


Bosses
There are a few monsters in the game that are very powerful and can use spells while other regular monsters or characters cannot. These monsters are called “Bosses”. What is the difference between “Bosses” and regular monsters?
a) “Bosses” have huge health, strong damage, and deadly magic.
b) It is necessary to study the tactics of killing “Bosses” since they have different phases when their behavior and damage tactics change drastically.
c) “Bosses” often drop very rare and powerful items that cannot be found anywhere else.
d) At least 2 characters are needed to kill a”Boss”, and most often it is a close-range battle fighter to restrain the “Boss”, and any other long-range combat character to damage and be safe. Keep in mind that if you deal more damage than the restraining character, the “Boss” switches its target to the one who deals more damage. the same applies to the healing of your allies. Mostly we speak now of healing characters like Mage and Bard).
e) Most Bosses appear from the altars. Read the topic about the altars for more information.
Every Boss’s lair has anti-loot mode. This means that you can kill, but not loot another character there.
Here is everything you need to know about the Bosses and killing tactics.
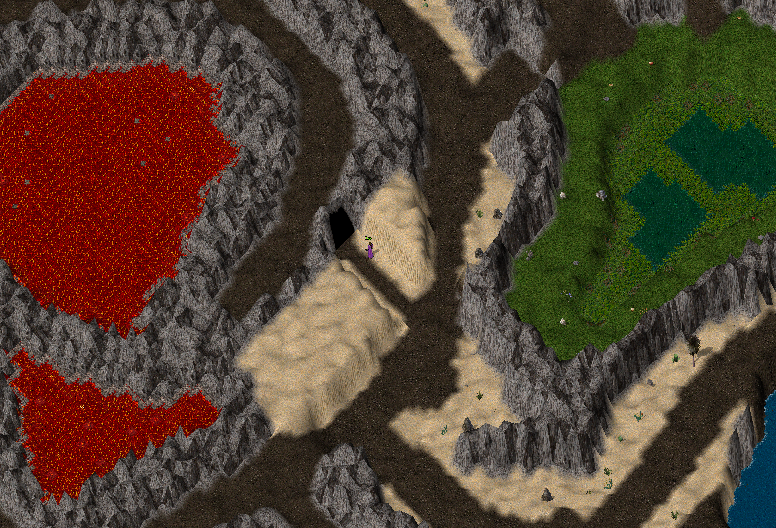
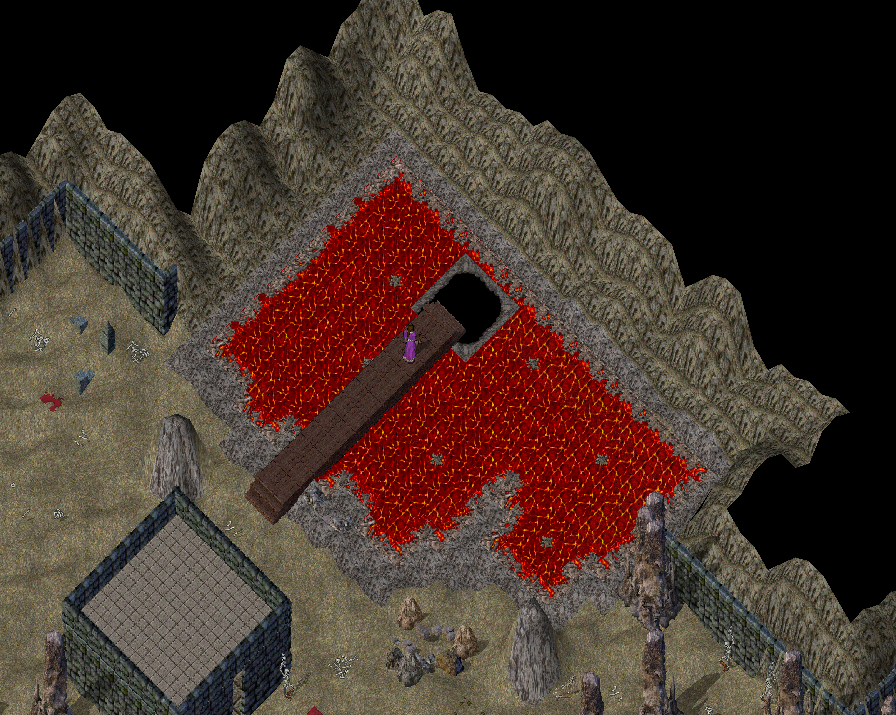
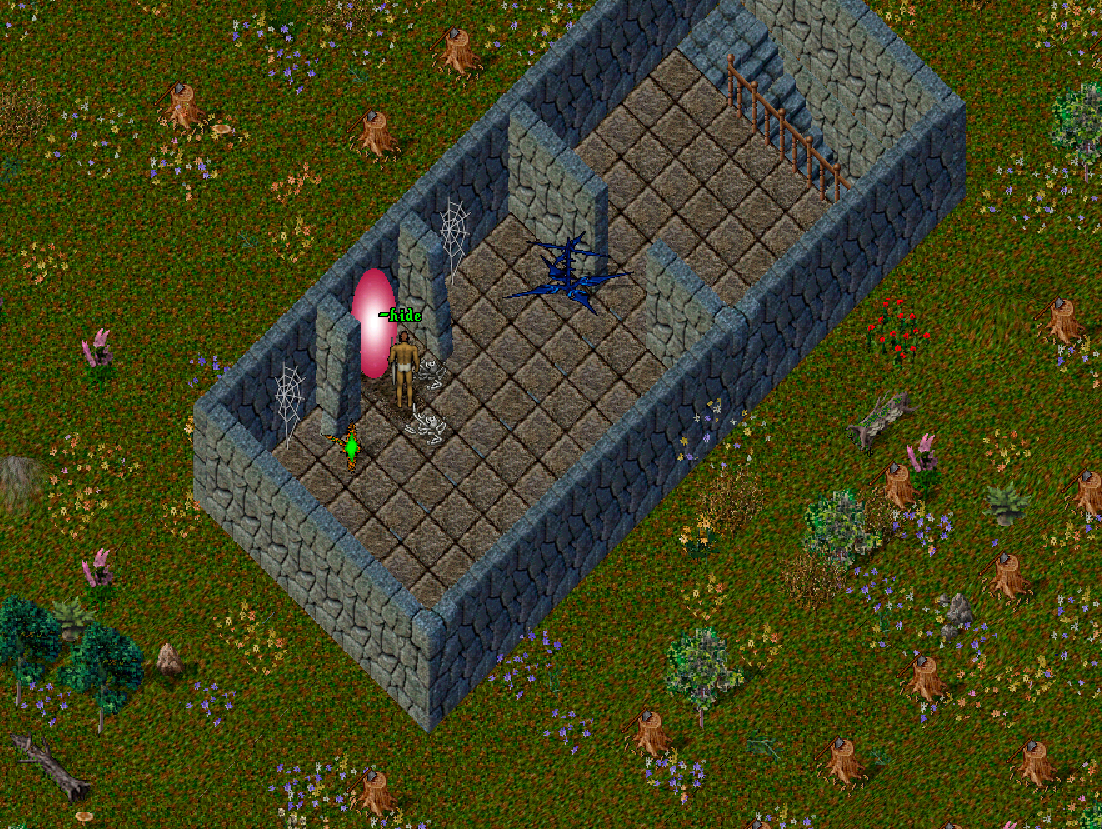
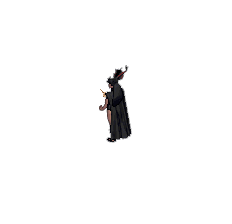
Margrena
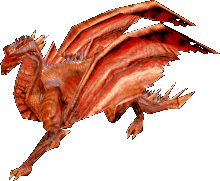
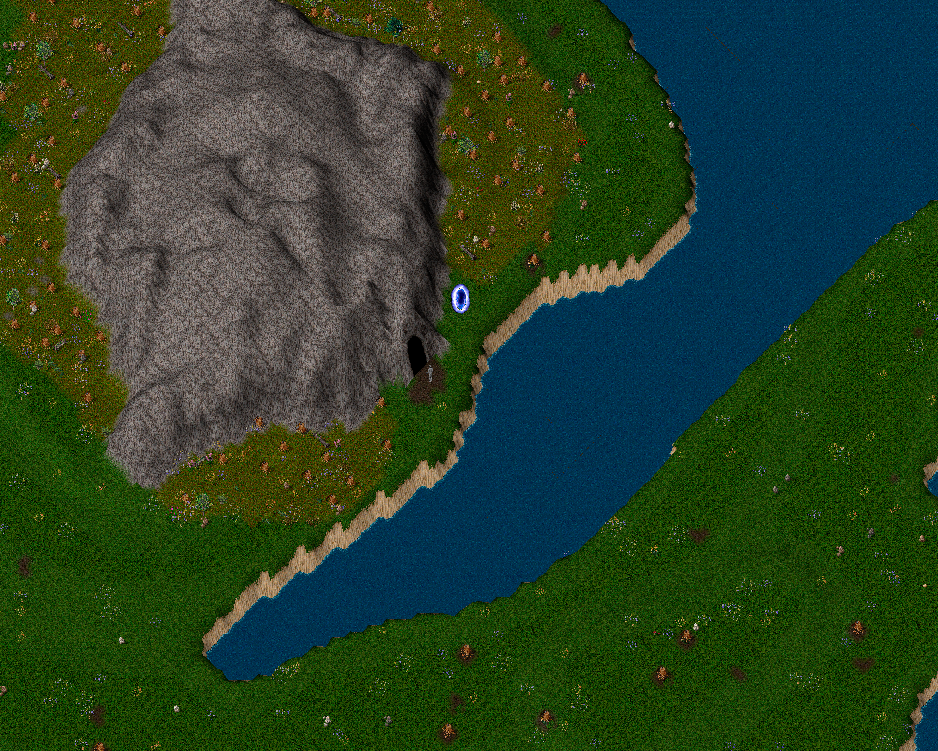
To get into Margrena’s lair you need to find Destard dungeon and go down to the second level where the pass to the lair is.
You will meet lots of monsters on the way to the “boss”.
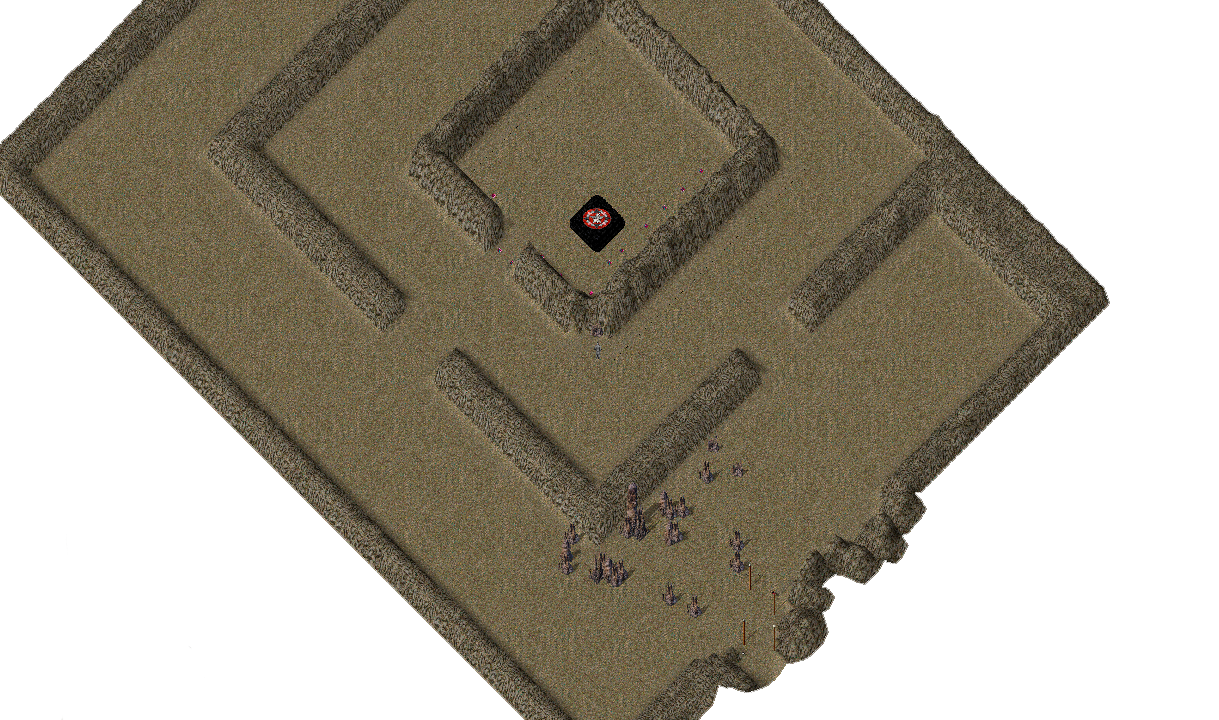
To summon the Boss you must clear the Altar territory from monsters.
Entrance to the dungeon
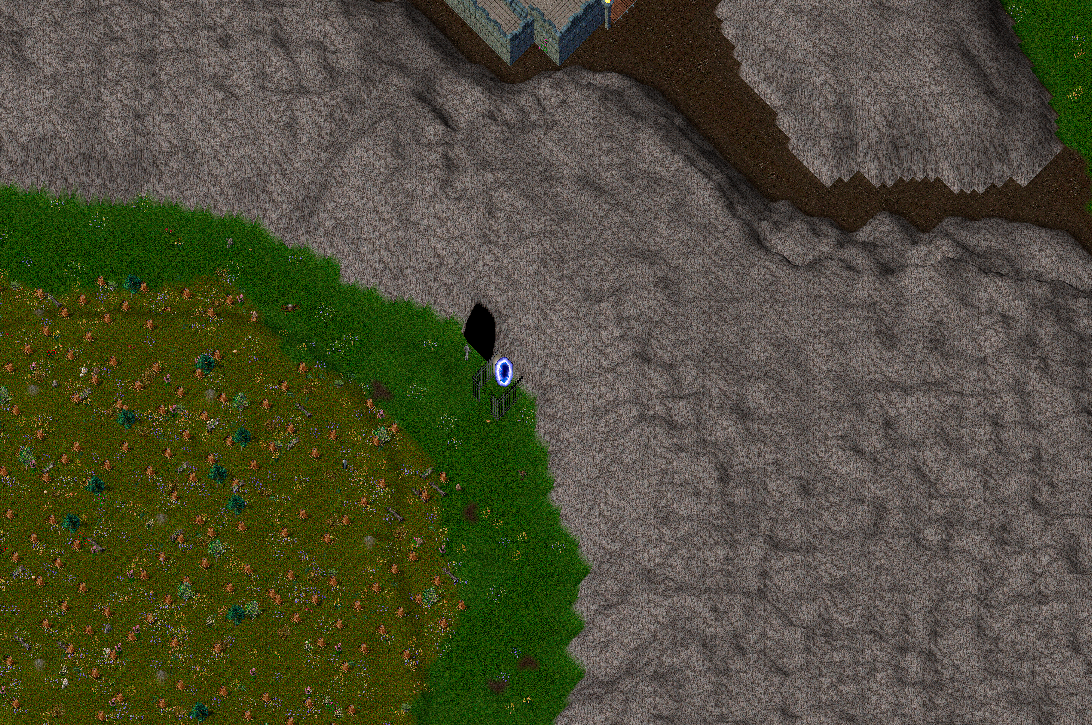
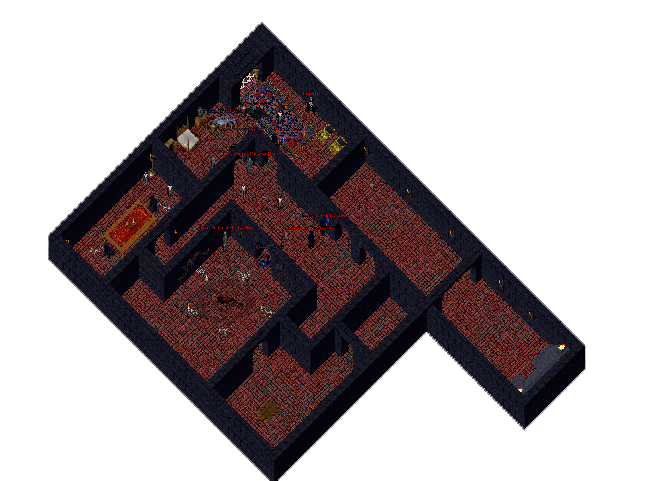
Margrena’s lair
Miradna
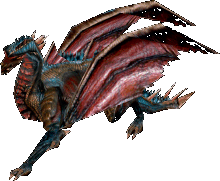
To get to Miradna’s lair you need to find the Fire Dungeon and walk through it to the lair.
The entrance to the lair is on the second level of the dungeon.
To summon the Boss you must clear the Altar territory from monsters.
Entrance to the dungeon
Miradna’s lair
The tactics of killing Margena and Miradna “Boss”
“Boss spells”
Sky stone (Deadly) a yellow circle appears under one of the characters. If there are two and more characters, a tank won’t have a circle beneath him.
Tentacle (Not deadly) appears in random places around the Boss under the characters, even under a tank. Inflicts bearable but unpleasant damage.
Pentagram (Deadly) of a red color appears inflicting damage to the characters walking on it. The attacking character and everyone around him within a radius of 4 tiles will be under attack. This pentagram appears as follows, if there are 2 or more characters, then it will not appear under the tank.
Spit (Deadly for everyone except for a tank character). The boss spits on the tank and walks straight through him not harming at all, though killing all the targets behind him.
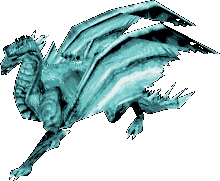
Dragon summon (Dangerous). The Boss becomes invulnerable to any kind of attack and summons powerful dragons. The Boss remains invincible until all the dragons are killed.
Healing fire (Dangerous). When the boss’s health reaches 35% he starts using healing fire around. It inflicts damage on all enemies, even monsters too. Depending on the amount of damage inflicted the boss’s health is restored.
Fire spit (Deadly). during this spell someone from the team has to be within 3 tiles from the Boss, otherwise, everyone will be struck by fire, which deals great damage.
Flame. During the second phase, a spark will appear from time to time and will move along a curved path toward you. If it strikes you, you will be paralyzed and thrown off the mount. Deals moderate non-fatal damage.
Killing tactic
Player line-up
The necessary set of players consists of a Healer supporting the teammate’s decent health level, any character dealing damage (“DD”) to the Boss, and a “Tank” that will take the main attack on him and restrain the Boss.
First Phase
The first phase begins from the moment the Boss is attacked.
The tank provokes the “Boss” and stands next to him in order to deal damage.
The healer and DD are placed at a distance of 7-10 tiles from each other.
The healer also attacks the Boss whenever possible, otherwise restores the Tank’s’ health.
At this time, the “Boss” begins to cast the “Sky stone” spell which targets the Healer or DD and they must run 4 tiles away from that place.
Ignore the next spell (“Tentacle”) and keep attacking the Boss.
Expect the “Pentagram” spell after the third stone and stand still to cast teleport or get ready to run away to any side of the lair to avoid all the damage.
After some time “Dragon summon” takes place. Full preparation to heal the DD and kill the dragons.
The spells repeat until the Boss’s health reaches 35%.
Second phase
After 35% health, when the “Boss” starts to apply fire around him, the Tank, DD and Heal run away from the radius of the fire, but not too far. If you run too far, the “Boss” will lose sight of you and revives itself.
Tank, Healer and DD attack outside of fire and dodge Sky stone and Flame until the Boss is defeated. In case the Tank is a Warrior that cannot deal damage from a distance, he can use explosive potions.
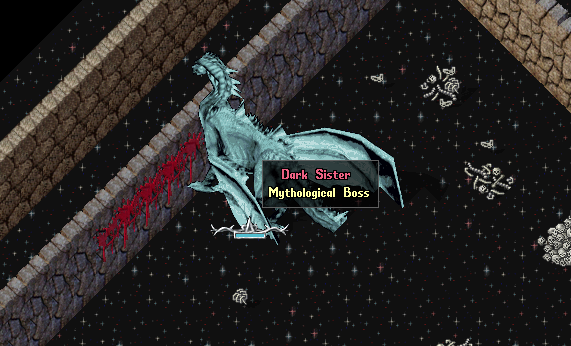
Dark Sister
To get into Dark Sister’s lair you must obtain the portal statue from Miradna and Margrena Bosses. It can be used only in the lairs of the bosses mentioned above.
Entrance to the dungeon
The Dark Sister is the strongest “Boss”, from whom you can loot the strongest and rarest artifacts and the strongest leather.
Dark sister’s lair
“Boss spells”
Spit (deadly) – inflicts incredible damage that jumps back from the walls of the dungeons. Increases damage towards the end of the hit wave. In the beginning, the damage is light and closer to the end it’s lethal.
Rock (deadly) – a circle appears under the characters (except for a tank). A rock falls onto this circle after some time. It will be helpful to protect the attackers and it remains until the phase repeats.
Pentagram (deadly) deals damage that appears under the players.
Tentacle (deadly) appears under the players. It freezes them, throws them away from mounts, and pushes 2-3 tiles back in different directions.
Puddle (deadly) is a deadly liquid poured by the Boss after the first phase from the top of the room. It fills the room and inflicts damage to everyone and restores the Boss’s health.
Wing waves (dangerous) – In case, if the tank is nowhere around the Boss, she starts waving wings lifting dust that slows everyone around. At the same time, Boss casts the main spells much faster.
Killing tactics
Player line-up
The necessary set of players consists of a Healer supporting the teammate’s decent health level, any character dealing damage (“DD”) to the Boss, and a “Tank” that will take the main attack on him and restrain the Boss.
First phase
Enter the Boss’s lair at the same time.
The tank attacks the boss and attacks him at an angle to the wall so that in the case the Boss spits, it would ricochet in a curved line.
The Healer heals Tank, though not too often so that not to draw the Boss at himself.
DD waits for the tank to damage more, then damages from time to time too.
Healer and DD dodge the Boss’s magic as much as possible and stay 6 tiles away from the tank.
All players do all the indicated actions carefully and wait for the next “Boss” spells to be ready, as you can heal the tank and just wait for him to kill the “Boss”.
Second phase
Boss moves to the upper part of the room and fills the room with Puddle.
All the characters look for the first or second Rock and hide until the second phase finishes.
After the puddle fades away the players return to the first phase.
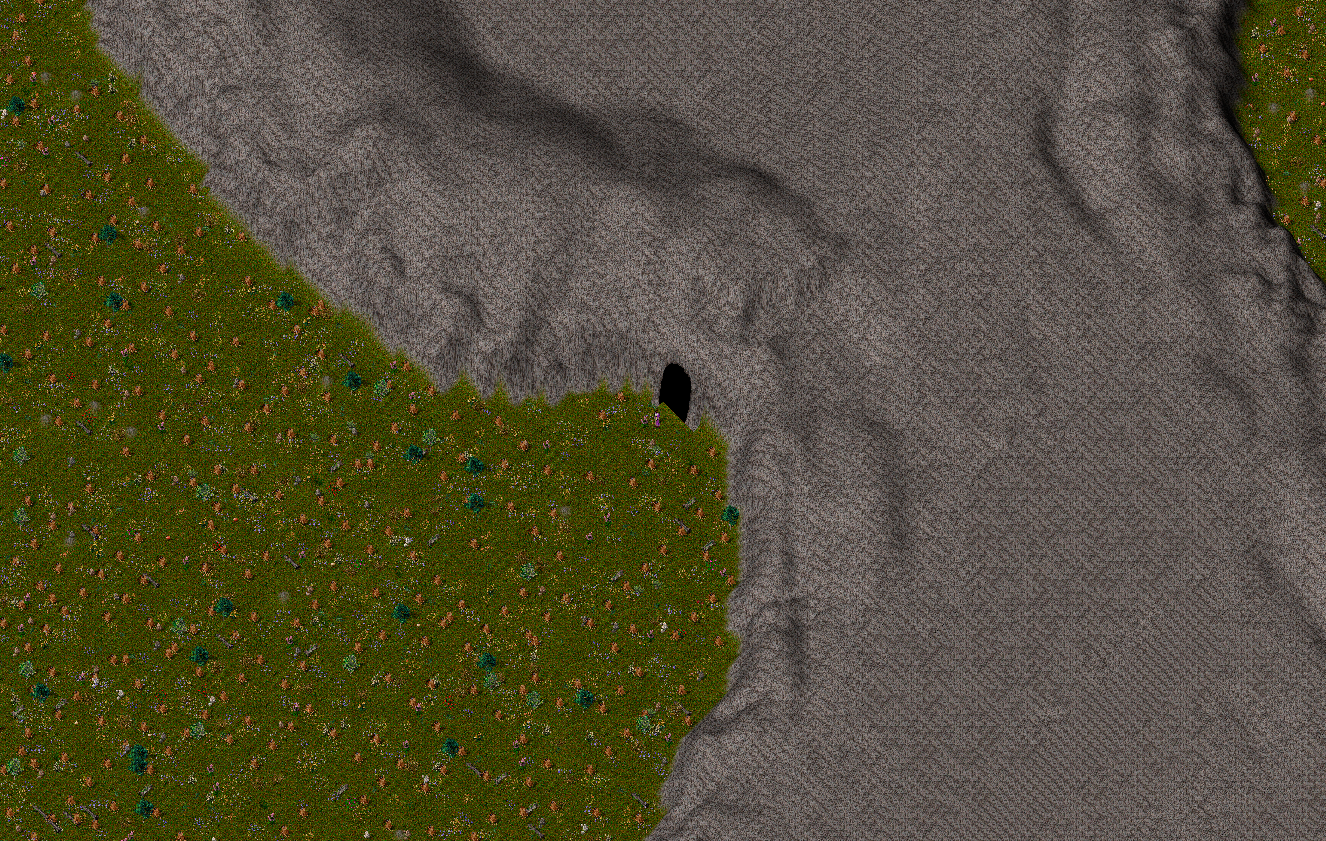
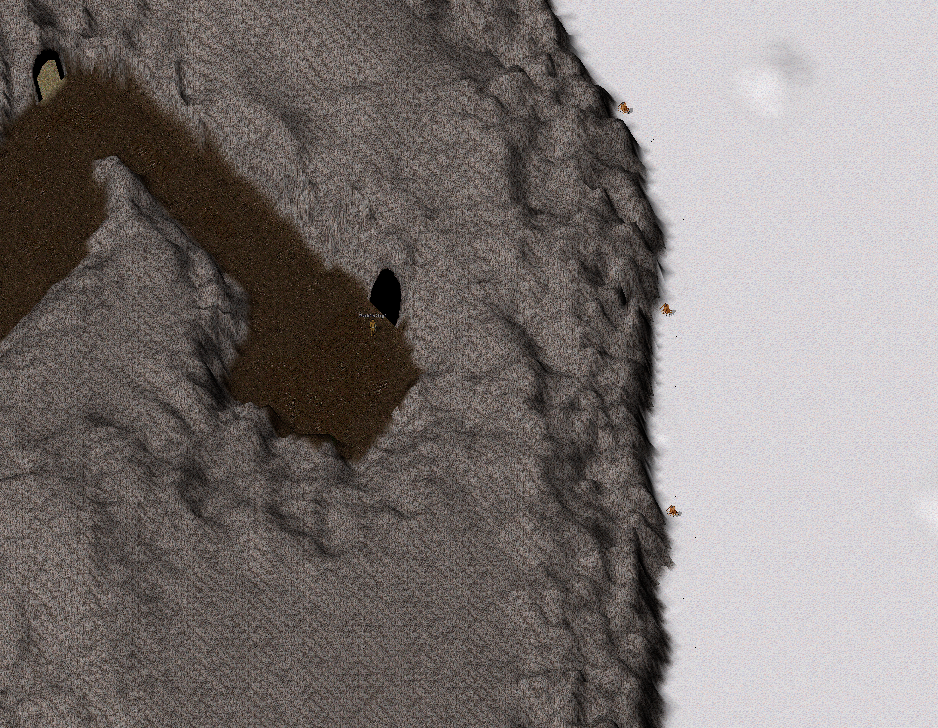
Amun-aki
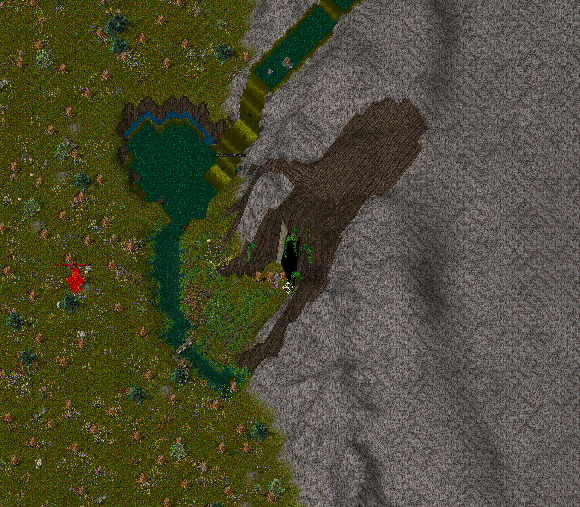
In order to get to the Lizard’s lair, you need to go through the forests and enter the cave.
Entrance to the dungeon
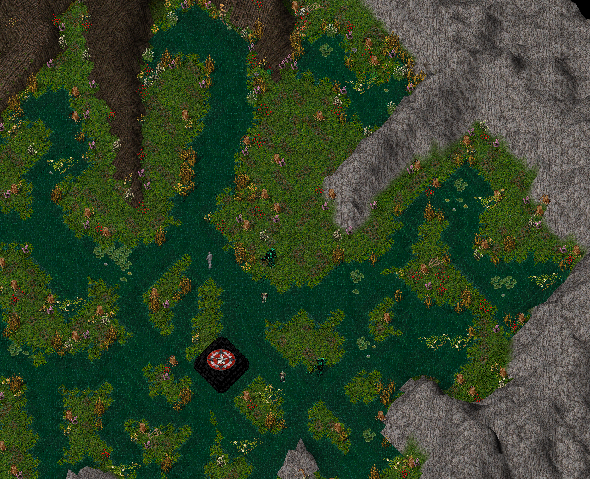
To summon the Boss you must clear the Altar territory from monsters.
Amun-aki’s lair
“Boss spells”
Jump (Deadly) – teleports upon the player and deals big damage.
Swamp (Dangerous) – pours liquid around himself that damages the players greatly.
Dust and explosion (Deadly) – the Boss raises dust, which explodes after a certain time and causes damage.
Gunpowder barrel (Deadly) – Places kegs of gunpowder on all players that explode after 3 seconds and deal fatal damage.
Swing (Dangerous) – strikes with a snapping swing and deals massive damage.
Rage (Dangerous) – physical damage dealt by the Boss raises every minute.
Silence – breaks all the casting spells if near the boss
Killing tactics
Player line-up
The necessary set of players consists of a Healer supporting the teammate’s decent health level and a “Tank” that will take the main attack on him and restrain the Boss.
This boss has no phases
The tank starts the fight, and stands next to the boss to see the barrel under.
When the “Boss” throws a barrel, we run 1-2 tiles back from the boss so as not to receive fatal damage from it.
When the Swamp takes place, leave it carefully but not too far from the boss, 1-2 tiles away.
If the Tank runs away too far from the Boss (more than 1-2 tiles) the Boss strikes with the Jump that deals huge damage.
Healer or DD damage the Boss carefully dodging from spells.
Sargon

In order to get into the lair of the “Boss” Sargon, you need to find the Ice dungeon.
Entrance to the dungeon
In his lair, there is an Altar, with which you can summon the “Boss”, and strong necromancers who have unusual magic.
Sargon’s lair
“Boss spells”
Jump (Deadly) – teleports upon the player and deals big damage.
Summon (Deadly) – summons necromancers who use Dark magic.
Dust and explosion (Deadly) – the Boss raises dust, which explodes after a certain time and causes damage.
Gunpowder barrel (Deadly) – places kegs of gunpowder on all players that explode after 3 seconds and deal fatal damage.
Swing (Dangerous) – strikes with a snapping swing and deals massive damage.
Rage (Dangerous) – physical damage dealt by the Boss increases every minute.
Silence – breaks all the casting spells if near the boss.
Prey (Dangerous) – sacrifices a summoned necromancer and restores health.
Killing tactics
Player line-up
The necessary set of players consists of a Healer supporting the teammate’s decent health level, any character dealing damage (“DD”) to the Boss, and a “Tank” that will take the main attack on him and restrain the Boss.
This boss has no phases
First, you need to clear the Altar and kill the summoned necromancers that have already appeared.
When the “Boss” appears, the takes the “Boss” and does not stand under the boss, but from the up close to deal damage with melee weapons.
The healer helps the warrior or deals magic or bow damage to the “Boss”.
DD should be as strong as ever and wait for the appearance of the summoned necromancers.
At the same time, everyone should avoid the “Boss” spells, barrels, and explosions so as not to die stupidly.
After the monsters were summoned, the warrior runs away from the summoned ones 1 step at a time, slowly along with the boss, so that the summoned cannot reach him with spells.
DD quickly kills the summoned and switches to the Boss. Do not let the Boss use “Sacrifice”, otherwise he will restore a huge amount of health.
Keep in mind, that you shouldn’t deal more damage than a Tank, so that not to draw attention.
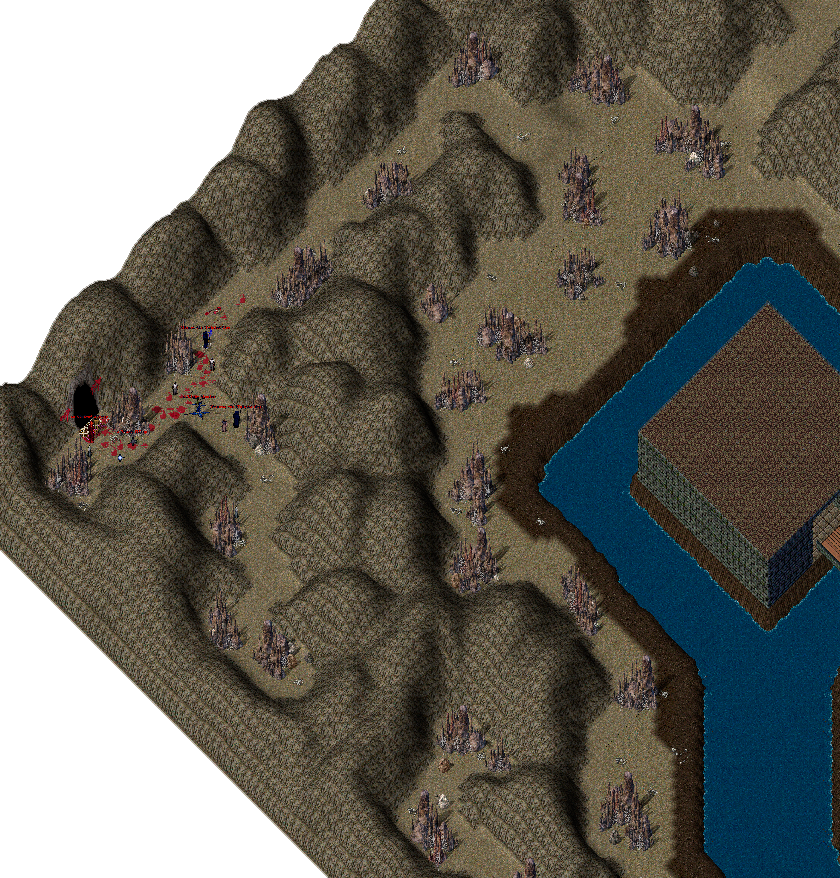
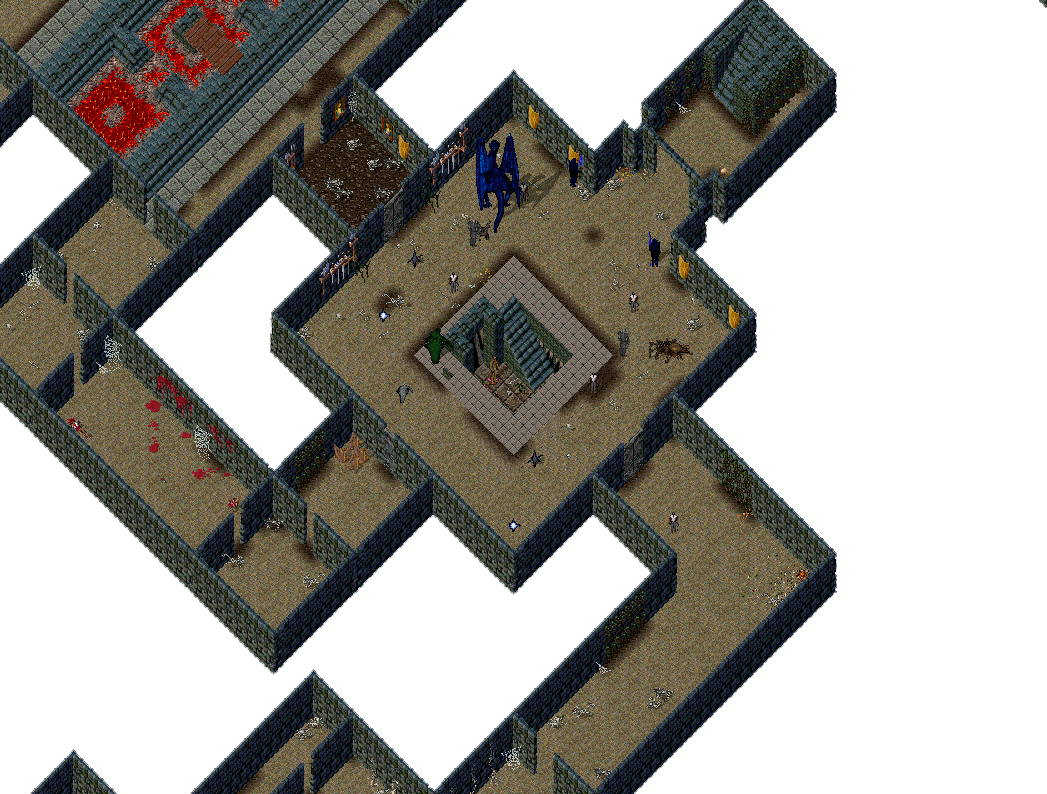
Koschei the Undying
The portal to Koshchei’s Lair is located in Ev’s Lab. To get into it, you need to go down from the Ev portal a little to the right and lower and go through bunches of monsters.
The entrance to the lab
Go through the portal and clear the altar to summon Koshchei the Undying
The entrance to the lair
“Boss spells”
Poison (Deadly) -poisons any target with a poison that can only be healed by a well, after applying the well too late, you may not have time to recover from the poison.
Puddle (Deadly) – if a character is in the liquid, is damaged severely.
Silence – when near the “Boss”, interrupts all casting spells.
Spear (Смертельно) – The boss pierces a random character with his spear. The character is paralyzed and unable to do anything until the spear is taken out by his ally.
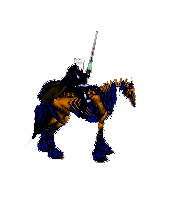
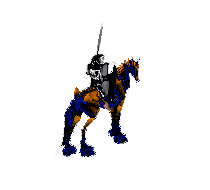
Horse (Dangerous) – The boss gets off the horse and continues the fight together with it. The horse, when hitting the character, throws from the mount.
Jump (Deadly) – teleports upon the player and deals big damage.
Killing tactics
Player line-up
Must have at least 2 players.
The necessary set of players consists of a Healer supporting the teammate’s decent health level, any character dealing damage (“DD”) to the Boss, and a “Tank” that will take the main attack on him and restrain the Boss.
This boss has no phases
Зачистите алтарь для вызова Босса.
The tank provokes the Boss, and almost immediately someone from the team gets poisoned. The one who has received the poison comes to the well and cures the poison. Everyone either deal damage to the boss or heal the tank. In the future, there will be a “Spear” spell that will hit any character. Anyone can pull out a spear with a double click at him, the important thing is not to miss the spear, and not to attack your own.
No one should be in the Puddle when it happens.
The boss can get off his horse and fight with it against you. The one who is attacked by the horse can run away from it, so as not to lose his mount or be thrown off. Other characters can quickly kill the horse so that he does not interfere.
The whole process is repeated throughout the fight.
Horsemen of the Apocalypse
The passage to the lair of the “Boss” of the Apocalypse is through the Sheim dungeon.
To summon the Boss you must clear the Altar territory from the strongest monsters.
Entrance to the dungeon
Entrance to the lair
“Boss spells”
Shok (Dangerous) – if several characters are too close to the boss, inflicts light damage and pushes everyone back.
Silence – when near the “Boss”, interrupts all casting spells.
Spear (Смертельно) – The boss pierces a random character with his spear. The character is paralyzed and unable to do anything until the spear is taken out by his ally.
Jump (Deadly) – teleports upon the player and deals big damage.
Killing tactics
Player line-up
Must have at least 3 players.
The necessary set of players consists of a Healer supporting the teammate’s decent health level, any character dealing damage (“DD”) to the Boss, and a “Tank” that will take the main attack on him and restrain the Boss.
The best setting would be to have 1 tank and 3 healers that will restore health and deal damage.
First phase
The Tank provokes the “Boss” and everyone else waits for the Tank to deal some damage. The Healer heals the tank. The boss pierces a player with a spear. Take it and continue the fight. Little damage is done by everyone at this point. Don’t deal more damage than the Tank, otherwise, the Boss will quickly transfer the target to you and kill you.
Second phase
The second phase is different only in that way, that the Boss has 2 spears and two characters are pierced. Besides, the boss will use the Shock spell on everyone.
Continue until the Boss is killed.
Shady Stranger
In order to get to the “Boss”, you need to go through the entire Deceit dungeon and find a passage to the Lair.
Entrance to the dungeon
Shady Stranger’s lair
“Boss spells”
Children teleport (Attention) – The Boss teleports his children from the other dimension, that lie on the platforms and wait for their transmutation.
Summon imp (Dangerous) – The boss summons a Demon that attacks a random player with a spell.
Weapon throw (Dangerous) – Throws his hammer into a random player dealing damage.
Shock (Dangerous) – Deals damage to the players and pushes them back if they stand too close to him.
Resurrect (Dangerous) – Resurrects a Demon from a child.
Transmutation (Deadly) – When the boss reaches 50% health it changes its shape and turns into a demon. The boss no longer uses Summon Imp and uses Resurrect instead.
Healing (Dangerous) – If the Boss comes close to a child, he restores his health from it.
Killing tactics
Player line-up
The necessary set of players consists of a Healer supporting the teammate’s decent health level, any character dealing damage (“DD”) to the Boss, and a “Tank” that will take the main attack on him and restrain the Boss.
First phase
The players wait until the “Boss” moves away from the entrance and all together go into the room and stand in different corners.
The tank provokes the Boss and stands in the middle and restrains the Boss.
DD, Healer, and Tank try not to kill the children as the Boss becomes stronger once they are dead.
When a Fire Imp appears, everyone attacks him except for the Tank who is always occupied with the Boss.
No one gets close to the boss, except for the Tank, as the Boss can push everyone away and change the target.
The second phase begins when the health of the Boss reaches 50%.
Second phase
The Boss turns into a Demon and damages the players severely.
Healers heal the Tank more often, but try not to heal more damage than the tank does to the Boss.
Boss casts Resurrect and closely comes up to the child.
Tank follows every step of the Boss.
The rest of the characters must destroy the child’s corpse before the resurrect spell.
After the corpse of the child is killed, the Boss becomes stronger, but no summon takes place.
Depending on the damage received from the characters, another Resurrect spell can be used by the Boss.
Finish the Boss